Ultimate Setup Guide for Trezor.io/start
A fresh, comprehensive walkthrough for beginners learning to secure crypto with a Trezor device.
Introduction
This guide is designed for beginners who want a clear, modern, and deeply informative explanation of how Trezor works, why hardware wallets exist, and how to perform a flawless setup from scratch. Rather than only giving you steps, we’ll explore practical examples, common mistakes, security insights, and best practices that experienced crypto users wish they had known earlier.
What Exactly Is Trezor.io/start?
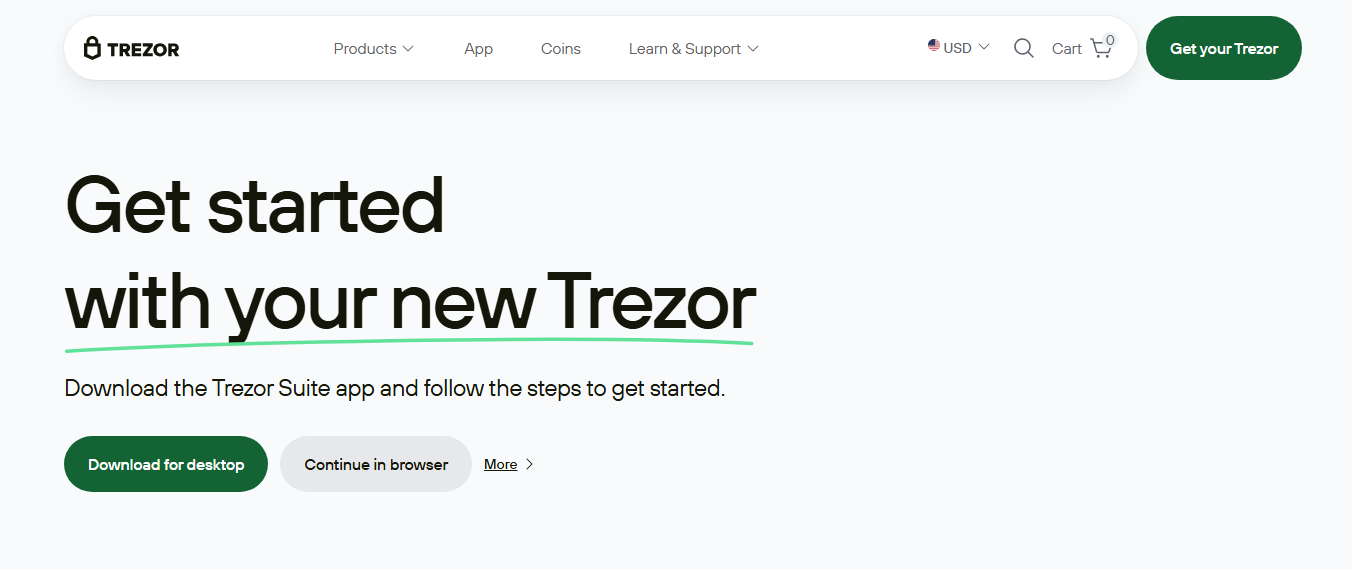
Trezor.io/start is the official activation hub for all Trezor hardware wallets. When you unbox a Trezor Model T or Model One, the packaging instructs you to visit this link. It’s the only safe and verified source for setting up your device, downloading Trezor Suite, performing firmware updates, and learning how to secure your recovery seed.
Using the wrong link is one of the most common mistakes beginners make. Fake pages exist, and many look convincing. That’s why Trezor.io/start should always be typed manually rather than clicked through ads or random search results.
Why Hardware Wallets Are a Game-Changer
A hardware wallet is a small, dedicated device that stores crypto private keys offline. Unlike mobile apps or browser wallets — which can be exposed to malware, trackers, or device theft — a hardware wallet places the cryptographic keys behind physical protection.
Picture it like storing gold bars in a fortified vault instead of leaving them on the kitchen counter. Even if your computer gets infected, or a website tries to trick you into revealing your keys, your Trezor device acts as the last line of defense.
This security model reduces your exposure to:
- Phishing attacks
- Malware-based theft
- Exchange failures
- Unauthorized transactions
⚠️ Critical Security Insight: Your Seed Phrase = Your Crypto
At Trezor.io/start, you’ll generate a seed phrase — a sequence of words that can recreate your wallet on any compatible device. Never type it on a computer. Never store it online. This phrase is the single point of recovery for all the assets secured by your Trezor.
Step-by-Step Setup Using Trezor.io/start
1. Inspect the Packaging
Every Trezor is sealed with anti-tamper packaging. Look for anything unusual: broken seals, adhesive marks, or mismatched colors. If something feels off, pause and contact support before continuing.
2. Go to Trezor.io/start (Type, Don’t Click!)
Open your browser and manually enter the URL. The page will guide you to download Trezor Suite, the application used for all transactions and account management.
3. Install Trezor Suite
This secure desktop app becomes your crypto command center. It supports portfolio tracking, sending/receiving crypto, and managing privacy settings with ease. Installing through the official link ensures authenticity.
4. Connect Your Device
Use the USB cable included in the box. Once connected, Trezor Suite detects your device and begins any necessary firmware setup. This process ensures your device is running the most secure version available.
5. Create Your Seed Phrase Backup
Write down the 12–24 words shown on your device’s screen. These words never appear in Trezor Suite — only on the hardware device itself. Double-check your handwriting. Organize it carefully. This is the most important step of all.
6. Set Your PIN
The PIN protects the device against unauthorized access. Avoid sequences like 1111 or 1234. A strong PIN gives you an extra layer of protection in case the device is lost or stolen.
7. Add Accounts Inside Trezor Suite
Once set up, you can add accounts for Bitcoin, Ethereum, and numerous supported networks. Every transaction requires confirmation on the device screen — ensuring nobody can authorize transfers without physical access.
Wallet Comparison Table
| Type | Security Level | Best Use Case |
|---|---|---|
| Hardware Wallet (Trezor) | Highest | Long-term storage, large holdings |
| Mobile Wallet | Medium | Everyday use and payments |
| Exchange Wallet | Low | Short-term trading |
💬 Expert Insight
“A seed phrase is more powerful than a bank password, a PIN, or a login. It is the single key to your blockchain identity — protect it with everything you have.”
Common Beginner Errors to Avoid
- Entering seed words into websites — a major red flag.
- Storing the phrase digitally in photos, notes apps, or cloud drives.
- Misplacing the order of the words during backup.
- Not updating firmware, which can leave your device exposed.
- Mixing up networks when sending or receiving tokens (especially on Ethereum-compatible chains).
- Trusting “support agents” who ask for private keys — Trezor never does this.
FAQs
Is Trezor.io/start an official Trezor resource?
Yes — it is the official setup and onboarding link for all Trezor hardware wallets.
Do I need a computer to use Trezor?
Yes. Trezor Suite runs on desktop and ensures safe interaction with your device.
What if I lose my Trezor device?
As long as your seed phrase is backed up properly, you can restore your wallet on another device. The seed phrase is the ultimate backup.
Can Trezor store multiple cryptocurrencies?
Yes. It supports Bitcoin, Ethereum, ERC-20 tokens, and many others, making it ideal for diversified portfolios.
Conclusion: Why Trezor.io/start Is Your Security Foundation
Completing your setup through Trezor.io/start isn’t just a formality — it’s the beginning of self-sovereign crypto ownership. By learning how to handle your device, secure your seed phrase, and confidently operate Trezor Suite, you’re building habits that seasoned investors swear by.
Crypto rewards the prepared. And with a properly configured hardware wallet, you’re not just buying coins — you’re protecting your digital identity, your assets, and your long-term financial future.